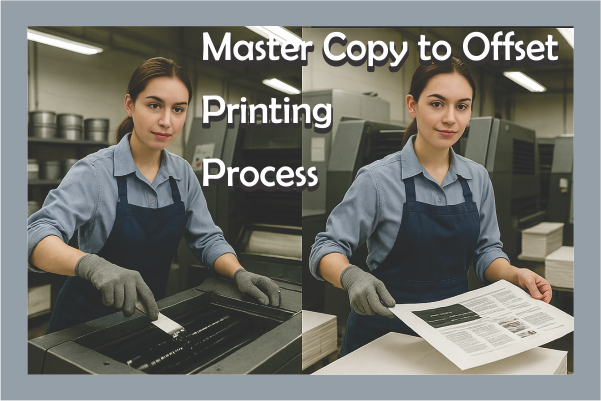
Offset printing Process is one of the most widely used techniques for mass production of printed materials. Whether it’s brochures, books, magazines, or packaging materials, the journey begins with one crucial element – the Master Copy. This master copy, usually created digitally, serves as the blueprint for all subsequent prints.
In this blog post, we’ll explore the full journey from creating a master copy to executing a professional offset print run. Whether you’re a design student, print shop owner, or a business owner looking to understand the offset printing process, this guide is tailored for you.
What is a Master Copy?
The Master Copy refers to the final, authorized version of your design or artwork, ready for printing. It is the source file used for creating printing plates and must include all final elements: text, images, colors, and layout.
Key Characteristics:
- Created in professional design software like Adobe InDesign, Illustrator, or CorelDRAW
- Proper resolution (300 DPI)
- CMYK color mode (not RGB)
- Bleed and margin settings correctly defined
- Fonts converted to curves or embedded
- Proofed and error-free
Without a perfect master copy, even the best printing setup cannot deliver high-quality results.
Basics of Offset Printing process
In offset printing process, the image is first etched onto a metal plate. Then, it is moved to a rubber blanket and finally printed onto the paper. It is a mechanical process used for large-volume printing.
Why Use Offset Printing?
- Consistent high image quality
- Efficient for large print runs
- Wide range of paper compatibility
- Cost-effective at scale
- Supports a wide color gamut
Offset printing process can be done using sheet-fed or web-fed machines, depending on the project type and volume.
Complete Workflow: Master Copy to Final Print
Let’s break down the complete journey in detail.
Step 1: Designing the Master Copy
The Offset Printing process starts with a graphic designer using software like Adobe InDesign, Photoshop, or CorelDRAW to:
- Create the layout
- Import images in high resolution
- Use vector graphics where possible
- Choose CMYK-compatible colors
- Ensure correct page sizes and bleeds
Tip: Avoid low-resolution images or RGB elements that may print inaccurately.
Step 2: Proofing and Final Approval
Before going to print, the master copy must be proofed:
- Soft Proof: On-screen preview to catch alignment and color issues
- Hard Proof: A printed copy using digital or inkjet printing for client approval
- Spell-checking, image verification, and layout reviews are essential
Client signs off the final design — this becomes the “approved master copy.”
Step 3: Prepress & Plate Making
Prepress is the preparation phase that ensures the file is ready for printing:
- File is exported as PDF/X-1a (print-ready format)
- Bleeds, crop marks, and color separations are reviewed
- CTP (Computer to Plate) process is used to create metal plates for each ink color (Cyan, Magenta, Yellow, Black)
Each plate represents one color layer and aligns perfectly in the press for multi-color printing.
Step 4: Preparing the Offset Printing Machine
At this stage:
- Plates are mounted onto the printing cylinders
- Rollers and blankets are cleaned and tested
- Ink fountains are filled with the appropriate CMYK inks
- Registration and calibration tests are conducted for precise alignment
Modern machines include automatic plate changers and color control systems for efficiency.
Step 5: Paper Selection
The type of paper you choose has a big effect on how clear, accurate, and good the print is overall. Choices include:
- Coated paper (glossy or matte)
- Uncoated paper (for a natural look)
- Cardstock (for packaging or business cards)
- GSM (grams per square meter) determines the thickness
Important: Paper must match the machine’s configuration and project requirement (e.g., 130 GSM for brochures, 250+ GSM for covers).
Step 6: Ink & Color Management
Color fidelity is crucial. Offset printing process uses CMYK, but spot colors (like Pantone) may also be used for brand consistency.
Tasks include:
- Mixing custom ink shades if needed
- Matching digital proof colors with ink samples
- Running print tests for color calibration
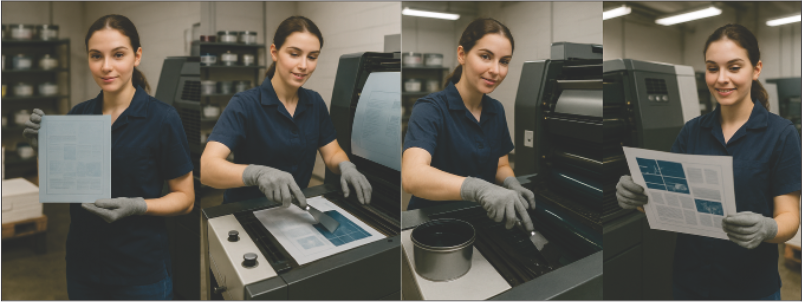
Step 7: The Offset Printing Process
Now, the magic begins:
- Paper feeds into the machine (sheet-by-sheet or roll-fed)
- Each plate applies its ink layer
- Rubber blanket transfers image onto paper
- Printed sheets are stacked for drying
Modern offset printing process can make hundreds of prints that are all the same every hour with great accuracy.
Post-Printing Processes
After printing, the sheets undergo finishing steps:
- Depending on the type of ink and paper, drying can be done in the air or with ultraviolet (UV) light.
- Cutting (guillotines or automatic cutters)
- Folding (for brochures, booklets)
- Binding (saddle stitch, perfect binding, spiral)
- Lamination or UV Coating for added durability or gloss
Each post-press activity adds polish and presentation quality to the printed materials.
Importance of a High-Quality Master Copy
A master copy acts as a digital contract between the designer and printer. A well-prepared copy ensures:
- Faster approval
- Less waste of plates and paper
- Accurate reproduction of colors and layouts
• Fewer problems while printing, since things like misalignment and image distortion are less likely to happen
Neglecting proper file setup can lead to reprinting, client dissatisfaction, and loss of time and money.
Offset Printing process vs Digital Printing
| Feature | Offset Printing process | Digital Printing |
| Ideal For | Large runs (500+ copies) | Small batches (1–500 copies) |
| Setup Cost | High (plates, time) | Low |
| Per Unit Cost | Decreases with quantity | Constant per piece |
| Print Quality | Superior for images/text | Improving, but varies |
| Turnaround Time | Longer | Quick |
Conclusion: Offset is better for consistency and cost in large volumes; digital is ideal for short-run, fast turnaround jobs.
Common Challenges and How to Overcome Them
| Challenge | Solution |
| Color mismatch | Use calibrated monitors, hard proofs, Pantone swatches |
| Blurry images | Use 300 DPI or vector images |
| Wrong paper choice | Confirm GSM and finish requirements in advance |
| Plate misalignment | Regular machine maintenance and operator training |
| Typos/design errors | Perform multiple rounds of proofreading |
Being proactive in planning and communication can prevent most issues.
Tips for Designing a Print-Ready Master Copy
- Always work in CMYK color mode
- Set 300 DPI resolution for images
- Include bleed and crop marks
- Convert text to outlines or embed fonts
- Use PDF/X export settings
- Double-check spelling and alignment
- Review on screen and print a sample before finalizing
- Name files clearly (e.g., “Final_Brochure_A4_PrintReady.pdf”)
Conclusion
Transforming a master copy into an offset printing process is a meticulous process that combines creativity, technical expertise, and accuracy. A well-prepared master copy ensures that your ideas are translated into stunning printed products that are accurate, consistent, and professional.
Understanding this process empowers designers, marketers, and business owners to collaborate more effectively with printing vendors and achieve better results.
If you’re involved in print production, never underestimate the power of preparation. The old proverb goes, “Laying a strong foundation is the key to success.”